 "It's a "Porch-uh"" (ikazuchi)
04/26/2016 at 15:47 • Filed to: go sim racer go, build threads
 2
2
 1
1|
"It's a "Porch-uh"" (ikazuchi)
04/26/2016 at 15:47 • Filed to: go sim racer go, build threads | 2
| 1 |

In
!!!error: Indecipherable SUB-paragraph formatting!!!
, I got all the parts together and ruined my miter saw by just tossing on a metal cutting disc and hoping for the best. Now it’s time to start building.
First up is the base for the seat. I’m using an expired Sparco I had lying around, complete with slide rails so it can be adjusted per user. This is a necessity when you’re trying to build a setup that fits adults and small children. I started mocking things up with cardboard boxes to get a general sense of where things should be positioned, then got to work on the seat base.

Like I mentioned in part 1, I’m building the base in three sections so I can take it apart and keep in modular. The longitudinal rails on the seat and TV stand are larger stock so I can slip fit in the smaller rails of the center section. I used the smaller stock for the cross bars to keep the weight down.

A few quick tacks with the MIG, double-check that everything is square, then lay down a (crappy) bead. This was the first time in about 2 years that I used my welder, so I appologize to professionals seeing this. It’s not pretty.

Because I don’t weld a lot, I haven’t invested in a bottle of gas, so I’m using flux core wire, which splatters a lot more than a proper, gas-shielded weld.

For the TV stand section, I had to make sure everythign lined up perfectly straight with the seat base, otherwise the center section would not slide together with them. I used two pieces of the uncut stock as a straight edge and clamped everything together before cutting and welding the cross bars.

An order from McMaster-Carr later, and I have all the hardware I need. Nuts and bolts for the seat and TV, four retaining pins to lock the center section to the seat and TV stand, and plenty of adjustable feet to level it all.

Throughout the weekend my welds were getting better as I learned to adjust my speed and the settings as I moved from thicker to thinner steal. The section above is for the vertical frame that will hold the TV... which I promptly had to scrap. I had originally thought that I was just going to weld the uprights to the base, add some gussets, and call it good. After I completed the main section of the upright frame I had the great idea that I could slip fit it into larger stock posts on the base. That way I could remove the frame from the base if needed (for moving or rebuilding for a 3-screen setup), and it would make it easier to attach the heavy TV and drop it into place.
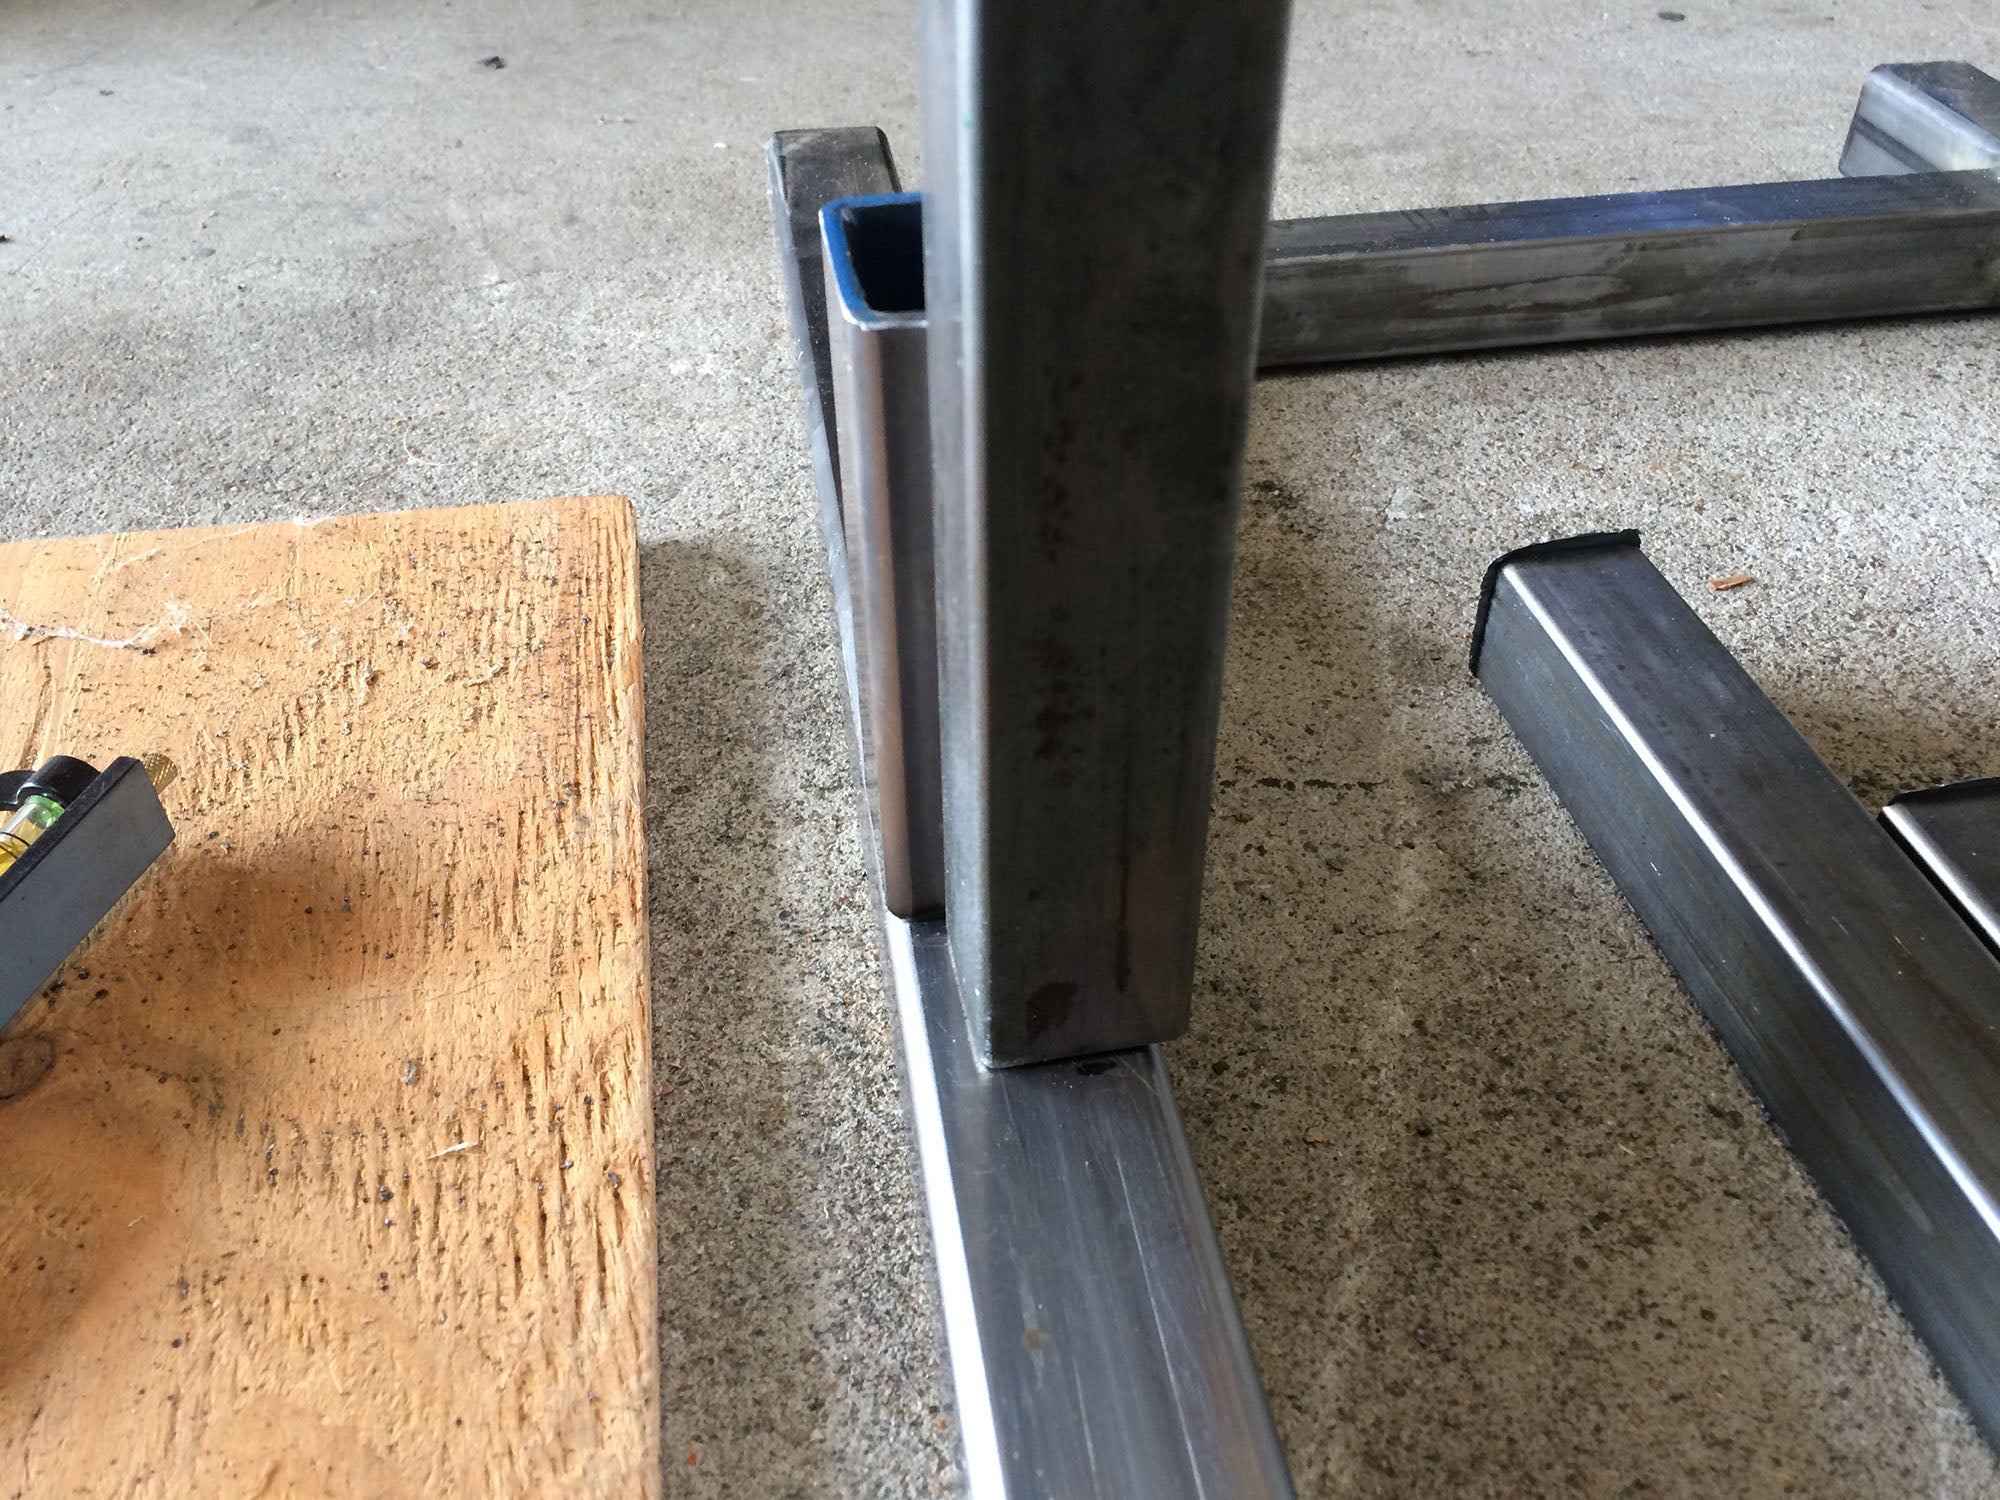
The problem I quickly realized was that I lined up the smaller stock of the upright frame to the inside of the larger stock on the base. What I needed was for it to be centered on the base, which meant having it about 3/8" wider. At this point I could either cut it apart and try and weld in a 3/8" section (not even sure I could cut that thin) or scrap the section and rebuild it. I chose the later, cutting up the old upright frame for use later.

So I clamped some short sections of box tube to the TV base to act as the receiver for the TV frame and built up from there.
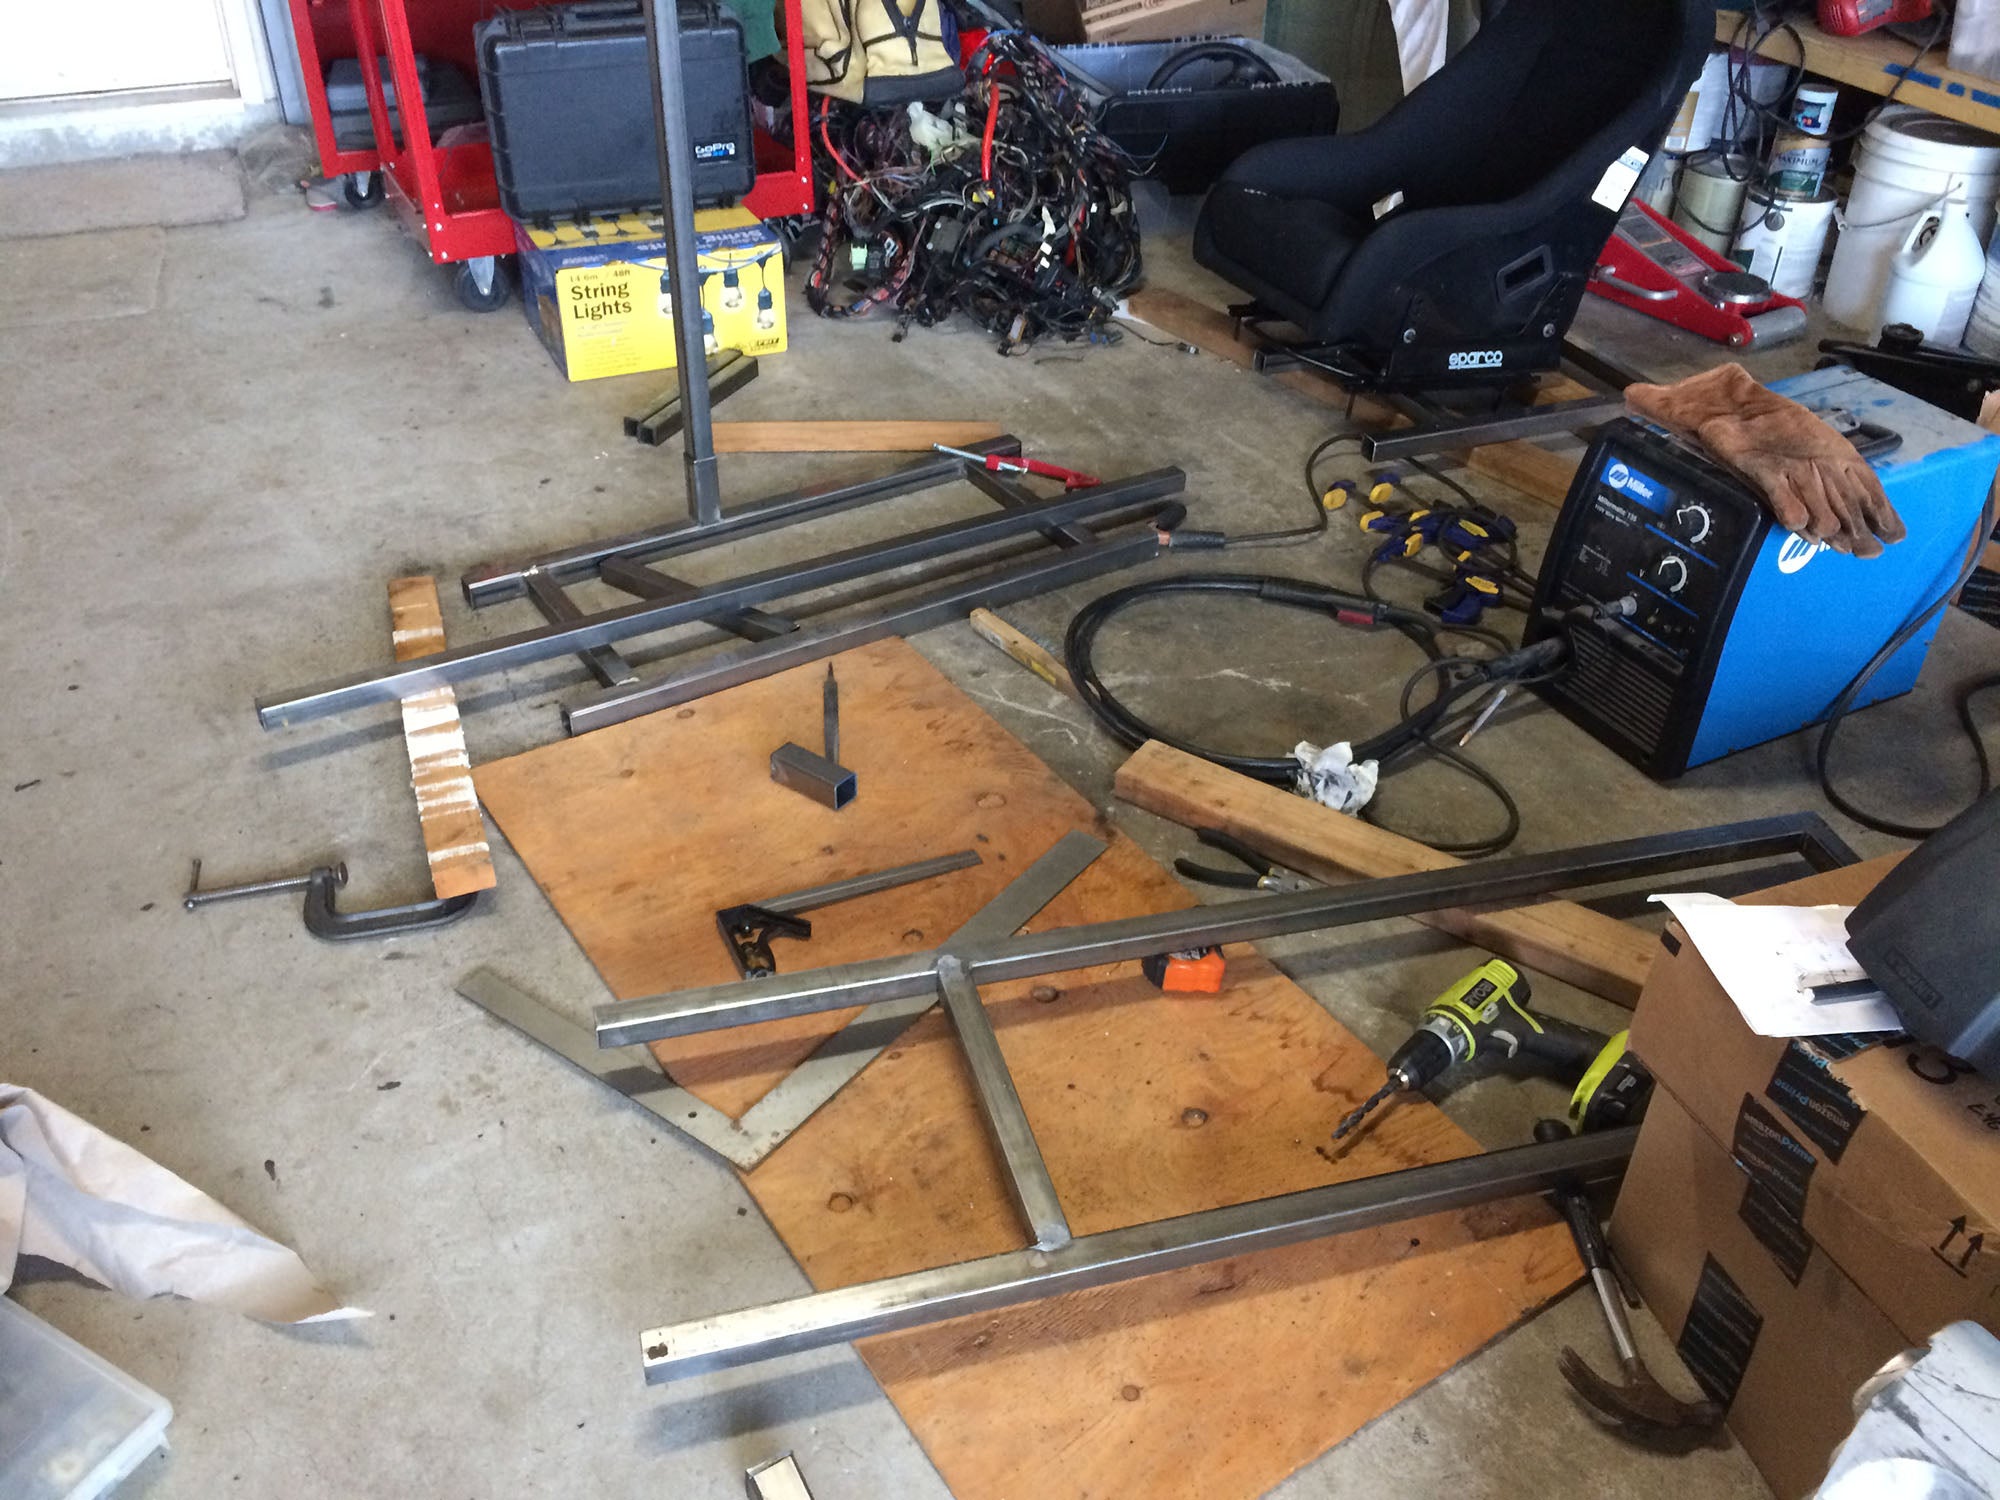
In the foreground is the scrapped TV frame. Damn my garage is a mess.
Next I’ll finish up the frame and mount the TV.
 gawdzillla
> It's a "Porch-uh"
gawdzillla
> It's a "Porch-uh"
04/26/2016 at 15:54 |
|
i made myself one from 2x4s 6years ago....
i need another one so bad
maybe i should go the metal route